
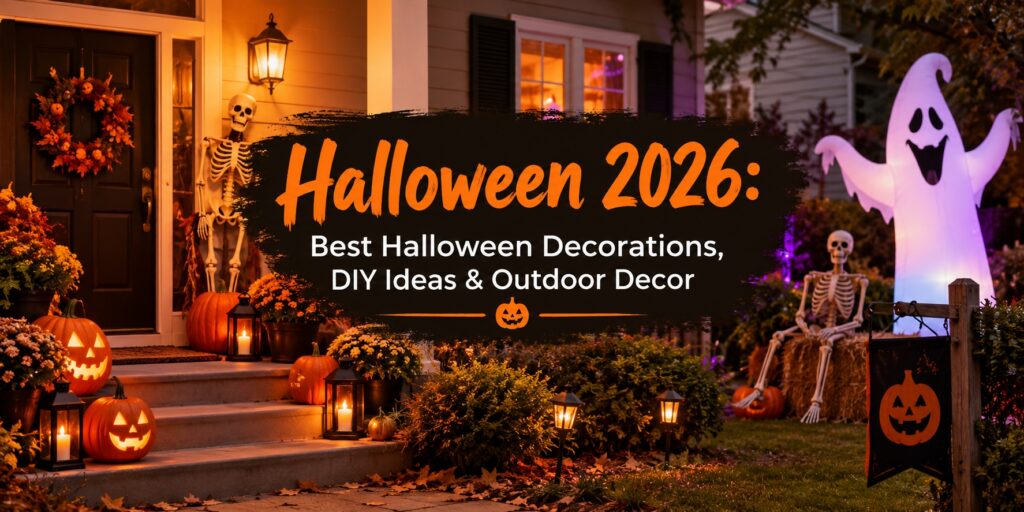
Halloween 2026 falls on a Saturday, so neighbors, trick-or-treaters, and party guests will have a full evening to see what you’ve put together. That’s a good reason to start planning now instead of hanging one wreath the night before.
You don’t need a big budget or a garage full of props. A few well-placed pieces, some handmade touches, and decent lighting can make a home feel spooky and still welcoming. This guide covers pumpkins, DIY projects, outdoor displays, skeletons, wall decor, and a simple process for pulling it all together. If you’d rather browse while you plan, you can look through Halloween decorations and seasonal deals for outdoor pieces, lighting, and wall hangings.
Halloween 2026 Decoration Ideas for Every Part of Your Home
The best halloween decorations follow the way people move through your space. Think about where guests will walk, wait, and look, then decorate those spots first.
Entryways and porches
The front door is where most people form their first impression. A wreath, a pair of lanterns, and a doormat with a seasonal message are enough to set the tone. If your porch has railings or posts, wrap them with black fabric, faux cobwebs, or orange string lights.
Yards and walkways
Lining a walkway gives visitors a clear path and adds atmosphere at the same time. Use stakes, small lanterns, or battery-powered candles every few feet. Place larger pieces in the yard, a few steps back from the path, so no one trips over them in the dark.
Windows
Windows work well for halloween decor because they show from both sides. Try cut-out silhouettes of bats or cats on the glass, or hang a string of lights behind sheer curtains. A single light bulb in a colored shade can make a window glow from the street.
Indoor spaces
Indoors, focus on the areas you use most: the entryway table, mantel, dining table, and stair railing. A tray of small pumpkins, a few candles, and a bowl of candy takes minutes to arrange and looks intentional.
How to Decorate Your Pumpkin for Halloween
Plenty of people search for ways to decorate pumpkin Halloween displays without carving, and the options are good ones. Uncarved pumpkins also last longer, since cutting into the flesh speeds up rot.
Here are a few approaches that work with standard pumpkins and basic supplies:
- Paint them. Acrylic craft paint covers well. Try solid black, white, or metallic gold, then add details with a paint pen.
- Use stickers and decals. Letters, faces, and eyes are quick and tidy, and they peel off when the season ends.
- Add drilled patterns. A cordless drill with a few bit sizes can make dot patterns that glow when a small light goes inside.
- Dress them up. Hats, scarves, felt ears, or a bit of fabric turn a plain pumpkin into a character.
- Stack and group. Piling three or four pumpkins of different sizes beside the door looks fuller than a single one.
If you do carve, wait until a few days before Halloween. Rub petroleum jelly on the cut edges to slow drying, and use a battery tea light instead of a candle.
Easy DIY Halloween Decorations Anyone Can Make
Handmade pieces give a display some personality, and most take under an hour. The following diy halloween decorations use materials you may already have around the house.
Paper bag luminaries
Draw a simple shape on a plain brown or white paper bag, such as a bat, a moon, or a jack-o’-lantern face, and cut it out. Add a few inches of sand or small stones to the bottom, then set a battery tea light inside. Line them along steps or a walkway.
Mason jar lanterns
Paint the inside of a clean jar with diluted white glue and tissue paper scraps in orange, black, or purple. Once it dries, drop in a light. Group several jars of different sizes on a table or porch step.
Ghost cloth figures
Drape white cheesecloth or a thin cotton sheet over a stack of crumpled newspaper or a small balloon on a stick. Stiffen the fabric with a mix of fabric stiffener and water, let it dry, then pull out the form. Draw on the face with a marker.
Spooky window silhouettes
Cut shapes from black construction paper or poster board and tape them to the inside of a window. Cats on a ledge, a witch on a broom, and a line of bats are all easy to cut freehand.
Cardboard tombstones
Cut tombstone shapes from large boxes, paint them gray, and add details with a black marker. Fun epitaphs and silly names keep it light for younger visitors. Stake them in the lawn with wooden dowels taped to the back.
A tip for all of these: choose a limited color palette, usually black, orange, and one accent. Handmade items look more polished when they share colors.
Create a Spooky Outdoor Halloween Display
Good halloween outdoor decor does two jobs. It gets attention from the street, and it holds up to wind, dew, and the occasional rain shower. Before you buy or build anything, walk the front of your home and note where your power outlets, trees, and walkways are.
Some practical points to keep in mind:
- Use decorations rated for outdoor use, and keep extension cords off the walking path.
- Weigh down lightweight props with sandbags or stakes so a gust doesn’t carry them off.
- Keep flame-based decorations away from dry leaves, fabric, and doorways. Battery lights are safer.
- Leave the path to your front door clear and well lit for trick-or-treaters.
Add a Halloween Inflatable Ghost
A halloween inflatable ghost is one of the easier ways to build a focal point. It sets up in minutes, it’s tall enough to read from the road, and it doesn’t take much storage space once deflated.
Place it where it has room to stand: the corner of the lawn, beside the garage, or a few feet off the porch. Make sure it’s near an outlet and anchored with the included stakes and tethers. Surround the base with a few pumpkins, hay bales, or fake cobwebs so it looks like part of the scene rather than something dropped on the grass.
Check the weather before leaving it up overnight. Strong wind can damage inflatables, so take it down if a storm is forecast.
Use Halloween Skeleton Decorations
Halloween skeleton decorations are easy to pose, which makes them useful for storytelling. A few ideas:
- Seated on the porch. A skeleton in a rocking chair or on a bench looks like it’s waiting for company.
- Climbing the house. Hang one from the roofline or a second-story railing, secured with strong cord or zip ties.
- At the front door. Pose one holding a candy bowl or a “welcome” sign.
- In the garden. Partially bury a skeleton hand or place a skull among the plants for a graveyard feel.
- Around a mock picnic or party. A group of skeletons at a table with plates and cups gives the yard a scene that people stop to look at.
Dress them in old hats, scarves, or jackets to give each one a personality. Anchor larger skeletons to a post, fence, or stake, since wind moves them more than you’d expect.
Halloween Wall Decor Ideas for Indoor and Outdoor Spaces
Walls often go ignored, but a plain wall is an easy place to add atmosphere. Halloween wall decor also takes up no floor space, which helps in small entryways and apartments.
Indoor ideas
- Hang a framed set of vintage-style Halloween prints or silhouettes in a hallway.
- Mount a row of paper bats that “fly” up the wall in a curve.
- Use a banner or garland across the top of a doorway or fireplace.
- Cover a mirror in black lace or fake spider webs for a haunted look.
Outdoor ideas
- Hang a large sign or banner on the garage door or front fence.
- Attach a wreath, a pair of lanterns, or a metal wall hanging beside the door.
- Use removable adhesive hooks on brick, siding, or smooth surfaces, and check the weight limit before hanging.
- String lights along the top of a porch wall or fence for a soft glow.
Before drilling or nailing anything, confirm the surface can take it. Renters especially should look for hooks and tape that remove cleanly.
How to Build a Complete Halloween Display
A display looks best when it feels planned. Here’s an order that works for most homes:
- Choose a theme. Pick something simple, such as a haunted house, a graveyard, a friendly pumpkin patch, or a skeleton party. A theme keeps your purchases and DIY projects consistent.
- Start with the entryway. Put your strongest pieces near the front door. A wreath, pumpkins, and a welcome sign can anchor the area.
- Add a focal decoration. Choose one large item, such as an inflatable, a big skeleton, or an arch, and give it space.
- Layer smaller decorations. Fill in around the focal piece with pumpkins, lanterns, tombstones, and cobwebs. Vary heights so the display has depth.
- Add lighting. Use warm orange, purple, or green bulbs sparingly. Spotlights on a focal piece and string lights along railings do more than lighting everything evenly.
- Check the display from the street. After dark, stand at the curb or across the road and look at your house. Adjust anything that’s hard to see, too crowded, or too dim.
If you have a few evenings, spread the work out. Put up the structure and big pieces first, then add details through the week.
Where to Find Halloween Decorations
You can mix store-bought and homemade pieces, and many people end up needing a few supplies even for DIY projects: stakes, zip ties, paint, outdoor lights, and extension cords. Shopping online makes it easier to compare options in one place.
When you order, check product dimensions, power requirements, and indoor or outdoor ratings so each piece fits your space. Buying hanging hardware and anchors at the same time saves a second trip when it’s time to set up.
If you’d like seasonal products, tools, and home supplies in one place, the DK Hardware online marketplace is worth a look as you finish planning your display.